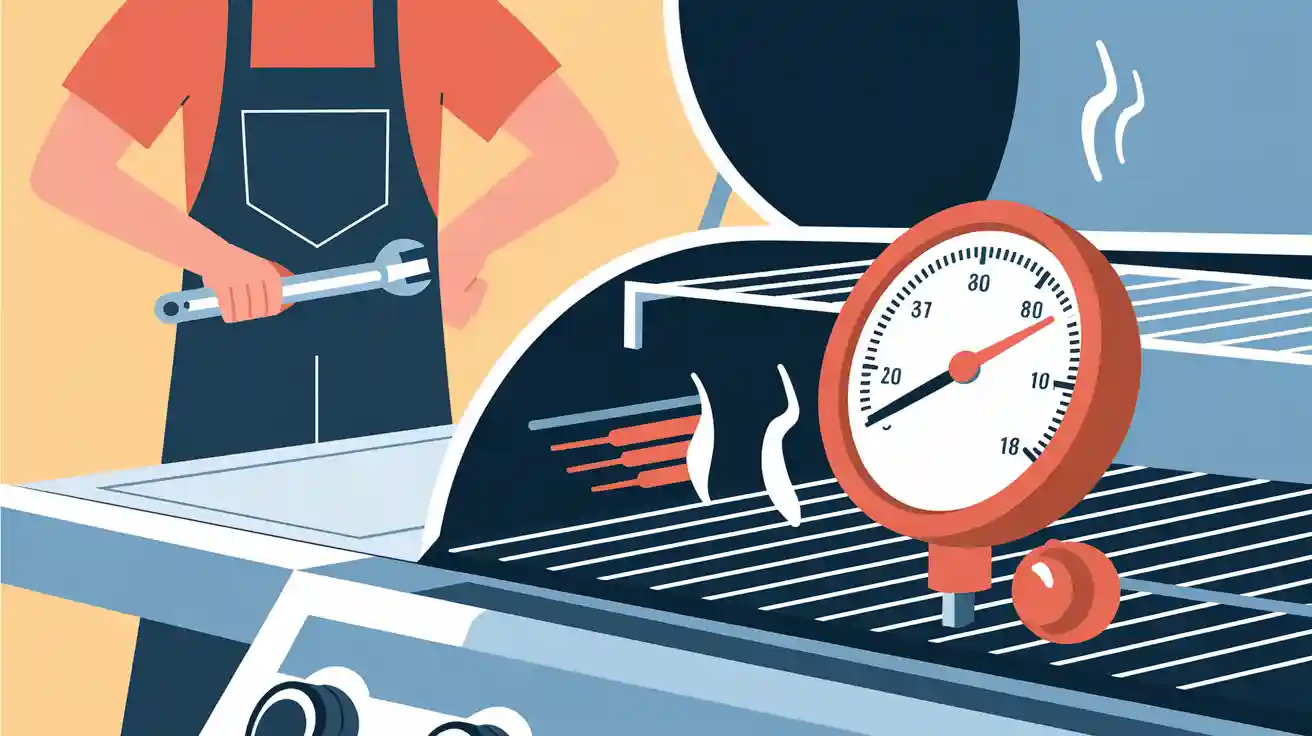
Why Your Gas Grill Temperature Gauge Readings May Be Inaccurate (And How to Fix It)
Have you ever noticed your gas grill temp gauge showing one thing, but your food cooks unevenly or takes longer than expected? This happens more often than you’d think. The built-in thermometer on your grill may not always give precise temperature readings. Factors like placement, wear, or even environmental conditions can throw it off. Many grill enthusiasts now rely on instant-read thermometers for better accuracy. If you’re tired of guessing and want perfectly cooked meals every time, it’s time to dig deeper into what’s really going on with your thermometer.
Key Takeaways
Check where your grill thermometer is placed. Built-in thermometers usually show air temperature, not the cooking surface. Use a separate thermometer for better results.
Calibrate your thermometer often to keep it accurate. Try the ice water or boiling water test to check if it works correctly.
Pay attention to things like wind and humidity. These can change temperature readings, so grill in a protected spot if you can.
Find the hot and cold areas on your grill. Use a separate thermometer to locate these spots and adjust how you cook.
Keep your thermometer clean. Wipe the probe often to get correct readings and make it last longer.
Common Causes of Inaccurate Gas Grill Temp Gauge Readings

Placement of the Thermometer
Where your thermometer sits on the grill plays a huge role in its accuracy. Most gas grills come with a built-in thermometer located on the lid. While this placement might seem convenient, it’s not ideal for measuring the temperature where your food is actually cooking.
Lid thermometers often show different temperature readings compared to the cooking surface.
They measure the air temperature inside the grill, not the heat at the grate level where your meat or veggies are placed.
Poor calibration and the distance from the heat source further reduce their reliability.
If you want better temperature accuracy, consider investing in an oven thermometer. Place it directly on the cooking grate to get a more precise reading of the temperature where your food is cooking. This simple adjustment can make a big difference in your grilling results.
Calibration Issues and Wear Over Time
Over time, your gas grill temp gauge can lose its accuracy due to wear and tear. Physical shocks, exposure to extreme temperatures, and the quality of materials all contribute to calibration problems.
Evidence Description | Explanation |
|---|---|
Thermometers can lose accuracy over time due to physical shocks and poor quality materials. | External factors can lead to calibration issues, affecting temperature gauge accuracy. |
The phenomenon of 'drift' occurs when the thermometer's measurements deviate from actual temperatures. | Drift necessitates periodic calibration, highlighting the need for regular checks to maintain accuracy. |
Metal springs in dial thermometers often require daily calibration due to misalignment. | Wear and tear from regular use can compromise accuracy, necessitating frequent recalibration. |
Measuring extreme temperatures can affect thermometer accuracy and may require calibration. | The quality of the thermometer impacts its reliability over time, further supporting the need for calibration. |
Regular calibrating is essential to keep your thermometer working properly. If you notice inconsistent readings, it’s time to recalibrate or replace the thermometer altogether.
Environmental Factors Affecting Accuracy
Even the environment can mess with your grill’s temperature measurement. Wind, humidity, and outdoor temperatures all impact how your thermometer reads the heat inside the grill.
For example, on windy days, heat can escape from the grill, causing the thermometer to show lower readings than the actual temperature. High humidity can also affect the heat distribution inside the grill, leading to uneven cooking.
To minimize these issues, try grilling in a sheltered area or use a grill cover to block wind. Monitoring the grill’s surface temperature with an external thermometer can also help you get more consistent results, regardless of the weather.
Grill Design and Cold Spots
Not all grills are created equal, and their design can have a surprising impact on how evenly they cook your food. If you’ve ever noticed that some parts of your grill seem hotter than others, you’re not imagining things. These uneven heat zones, often called cold spots, can make it tricky to get consistent results.
Grill manufacturers use different materials and layouts, which can affect how heat is distributed. For example:
A heavy stainless steel heat diffuser can help spread heat more evenly across the cooking surface.
However, even with such features, cold spots can still occur. Infrared imaging has shown that some grills have areas—like directly above the center burner—that are up to 50 degrees Fahrenheit cooler than the surrounding zones.
You might think this would ruin your cooking, but that’s not always the case. In many practical grilling situations, these cold spots don’t significantly impact the final results. Still, knowing where they are can help you take better control of your cooking process.
So, how do you deal with these cold spots? First, pay attention to your grill’s layout. Use an external thermometer to check the temperature at different points on the grate. This will give you a more accurate reading of where the heat is strongest. Once you know the hot and cold zones, you can adjust your cooking strategy. Place foods that need higher heat in the hotter areas and use the cooler spots for items that require gentler cooking.
If you’re serious about precision, consider upgrading your grill or adding accessories like heat diffusers. These tools can help you control the temperature more effectively and reduce the impact of cold spots. With a little practice, you’ll be able to work with your grill’s design instead of fighting against it.
How to Test and Calibrate Your Grill Thermometer

Getting accurate temperature readings from your grill thermometer is essential for perfect cooking results. If your thermometer isn’t calibrated correctly, you risk undercooking or overcooking your food. Luckily, testing and calibrating your grill thermometer is easier than you might think. Here are three reliable methods to ensure your thermometer is properly calibrated.
The Ice Bath Method
The ice bath method is one of the simplest and most accurate ways to calibrate a thermometer. It works because ice water consistently maintains a temperature of 32°F, making it a reliable benchmark for testing.
Here’s how you can do it:
Fill a glass with ice and just enough cold water to fill the gaps between the ice cubes.
Stir the mixture for about 30 seconds to stabilize the temperature.
Place the thermometer probe into the ice water, ensuring it doesn’t touch the sides or bottom of the glass.
Your thermometer should read exactly 32°F. If it doesn’t, you’ll need to adjust the thermometer to match this reading. This method is especially effective for dial thermometers, which can be recalibrated by turning the adjustment screw on the back.
Tip: If your thermometer consistently reads off by a few degrees, it might be time to replace it. A properly calibrated thermometer ensures your food cooks safely and evenly.
Measurement | Expected Value | Accuracy |
|---|---|---|
Ice Bath | ±0.1°F |
The Boiling Water Method
The boiling water method is another reliable way to calibrate a thermometer. It uses the boiling point of water, which is typically 212°F at sea level, as a reference.
Follow these steps:
Bring a pot of water to a rolling boil. Use about 3 inches of water to ensure the thermometer probe is fully submerged.
Insert the thermometer probe into the boiling water, making sure it doesn’t touch the sides or bottom of the pot.
Check the reading. It should display approximately 212°F.
Keep in mind that altitude affects the boiling point of water. If you live at a higher elevation, the boiling point will be slightly lower. Adjust your expectations accordingly.
Note: This method is ideal for testing dial thermometers, but it’s also useful for digital models. If your thermometer doesn’t read close to 212°F, recalibrate it or consider replacing it.
Cross-Checking with an External Thermometer
Sometimes, the best way to ensure your grill thermometer is accurate is to compare it with a trusted external thermometer. This method is particularly useful for identifying discrepancies in built-in grill thermometers.
Here’s how to do it:
Fire up your grill and set it to a specific temperature, such as 350°F.
Place an external oven thermometer directly on the cooking grate.
Compare the reading from the external thermometer with the built-in thermometer on your grill.
If the readings don’t match, your built-in thermometer may need recalibration. External thermometers are often more reliable because they measure the temperature at the cooking surface, where your food is actually placed.
Pro Tip: Keep a cooking log to track temperature changes and adjustments. This helps you identify patterns and ensures consistent grilling results.
By using these methods, you’ll know how to calibrate your grill thermometer and keep it working accurately. Whether you’re grilling steaks or slow-cooking ribs, a properly calibrated thermometer makes all the difference.
How to Fix and Calibrate the Thermometer
Recalibrating Your Grill Thermometer
If your gas grill temp gauge isn’t giving accurate readings, recalibrating it might solve the problem. Calibration ensures your thermometer measures temperature correctly, which is crucial for consistent cooking results.
To recalibrate, you can use two simple methods:
Ice Bath Calibration: Fill a glass with ice and water, then stir to stabilize the temperature. Insert the thermometer probe into the ice bath without touching the sides. It should read 32°F. If it doesn’t, adjust the calibration screw on the back of the thermometer.
Boiling Point Calibration: Boil water and insert the thermometer probe into the pot, ensuring it doesn’t touch the bottom. At sea level, it should read 212°F. If the reading is off, recalibrate accordingly. Remember, the boiling point decreases at higher altitudes, so adjust for your location.
Recalibrating your thermometer regularly keeps it reliable. If it still gives inconsistent readings after calibration, it might be time to replace it.
Replacing a Faulty Gas Grill Temp Gauge
Sometimes, recalibration isn’t enough. If your gas grill temp gauge is damaged or worn out, replacing it is the best option. Most built-in thermometers are easy to remove and replace.
Here’s how you can do it:
Unscrew the old thermometer from the grill lid.
Purchase a replacement thermometer compatible with your grill model.
Install the new thermometer by screwing it into the same spot.
When choosing a replacement, look for a high-quality thermometer with good reviews. A reliable thermometer ensures accurate temperature readings, making your grilling experience much smoother.
Tip: Consider upgrading to a digital thermometer for better precision and ease of use.
Using an External Thermometer for Precision
Built-in gas grill temp gauges often lack accuracy, especially over time. External thermometers, like wireless or digital models, provide more precise temperature readings. They measure the heat directly at the cooking surface, where it matters most.
To use an external thermometer effectively:
Place the probe on the cooking grate, not near the edges or burners.
Use a clip to hold the probe slightly elevated for better airflow and accurate readings.
Monitor the temperature throughout the cooking process to ensure consistency.
External thermometers are a game-changer for grilling enthusiasts. They eliminate guesswork and help you achieve perfectly cooked meals every time.
Tips for Maintaining Accurate Gas Grill Temp Gauge Readings
Regular Calibration Checks
If you want your grill thermometer to stay accurate, regular calibration is a must. Over time, even the best thermometers can drift off from their true readings. This happens because of wear and exposure to high heat. To keep things in check, test your thermometer every few months using simple methods like the ice bath or boiling water technique.
When you notice the readings are off, adjust the thermometer right away. Most models have a small screw or dial on the back that lets you tweak the settings. If your thermometer doesn’t have this feature, consider replacing it. Staying on top of calibration ensures your temperature control stays reliable, which is key for perfect grilling results.
Proper Thermometer Placement
Where you place your thermometer matters more than you might think. Built-in thermometers on grill lids often measure the air temperature, not the heat at the cooking surface. This can lead to misleading readings.
For better accuracy, use a grill surface thermometer. Place it directly on the grate where your food cooks. Avoid putting it too close to the burners or edges, as these spots can give skewed results. By adjusting the placement, you’ll get a clearer picture of the actual cooking temperature. This small change can make a big difference in how evenly your food cooks.
Cleaning the Thermometer Probe
A dirty thermometer probe can throw off your readings. Grease, soot, and food residue build up over time, affecting how well the probe measures heat. Cleaning it regularly is an easy way to keep your thermometer working like new.
After each grilling session, wipe the probe with a damp cloth or sponge. For tougher grime, use a bit of soapy water. Just make sure to dry it thoroughly before storing it. Keeping the probe clean not only improves accuracy but also extends the life of your thermometer. Plus, it’s a simple step that ensures your grill stays ready for the next cookout.
Monitoring Grill Surface Temperature
Monitoring the grill surface temperature is one of the most effective ways to improve your grilling results. Built-in thermometers often mislead you because they measure the air temperature inside the grill, not the heat at the cooking surface. This discrepancy can result in uneven cooking or undercooked food.
To get accurate readings, focus on the temperature at the grate level. A digital thermometer works best for this. Place the probe directly on the cooking surface to measure the heat where your food cooks. Avoid relying solely on the built-in thermometer, as research shows it’s not reliable for precision cooking.
Grilling requires precise temperature control. If you’re aiming for consistent results, try setting up a two-zone heat system. This method divides the grill into a hotter direct-heat zone and a cooler indirect-heat zone. It lets you cook different types of food at their ideal temperatures. For example, sear steaks on the hotter side while slow-cooking veggies on the cooler side.
Using a digital thermometer helps you monitor the grill surface temperature more effectively. It reduces the risk of undercooked food and ensures your meals are safe to eat. Precision thermometers also provide better measurements for both the cooking surface and the food itself.
Tip: Keep a thermometer handy during every grilling session. It’s a simple tool that makes a big difference in your cooking accuracy.
By paying attention to the grill surface temperature, you’ll gain better control over your cooking process. Whether you’re grilling burgers or slow-smoking ribs, knowing the exact temperature at the grate level ensures your food cooks evenly and tastes amazing.
Accurate temperature readings are the secret to grilling success. Your built-in thermometer might not always give you the precision you need, but regular testing and calibration can fix that. If it’s beyond repair, replacing it or using an external thermometer can make a world of difference. By keeping your thermometer in top shape, you’ll cook food that’s not only delicious but also safe to eat. Take the time to maintain your grill thermometer, and you’ll enjoy consistent results every time you fire up the grill.
FAQ
How often should you calibrate your grill thermometer?
You should calibrate your grill thermometer every few months or whenever you notice inconsistent readings. Regular checks ensure accurate temperature control, which is essential for perfectly cooked food.
Can you use a meat thermometer instead of a grill thermometer?
Yes, you can use a meat thermometer to check grill surface temperatures. Place the probe on the cooking grate for accurate readings. However, a dedicated grill thermometer is more reliable for long-term use.
What’s the best way to clean a thermometer probe?
Use a damp cloth or sponge with soapy water to clean the probe after each use. Dry it thoroughly to prevent rust or damage. Regular cleaning keeps your thermometer accurate and extends its lifespan.
Do external thermometers work with all grills?
External thermometers work with most grills, including gas, charcoal, and pellet models. Choose one with a clip or magnetic base for easy placement on the cooking surface.
Why does the built-in thermometer show different readings than the cooking surface?
Built-in thermometers measure air temperature inside the grill, not the heat at the grate level. This difference can lead to inaccurate readings. Use a surface thermometer for precise cooking temperatures.
See Also
Essential Tips For Caring For Your Charcoal Grill
Transform Your Grill Into A Delicious Pizza Oven
Simple Steps For Beginners To Grill Pizza Perfectly